Create an Event
An event represents a single event or trade show for which you collect consent. Creating one takes three steps.
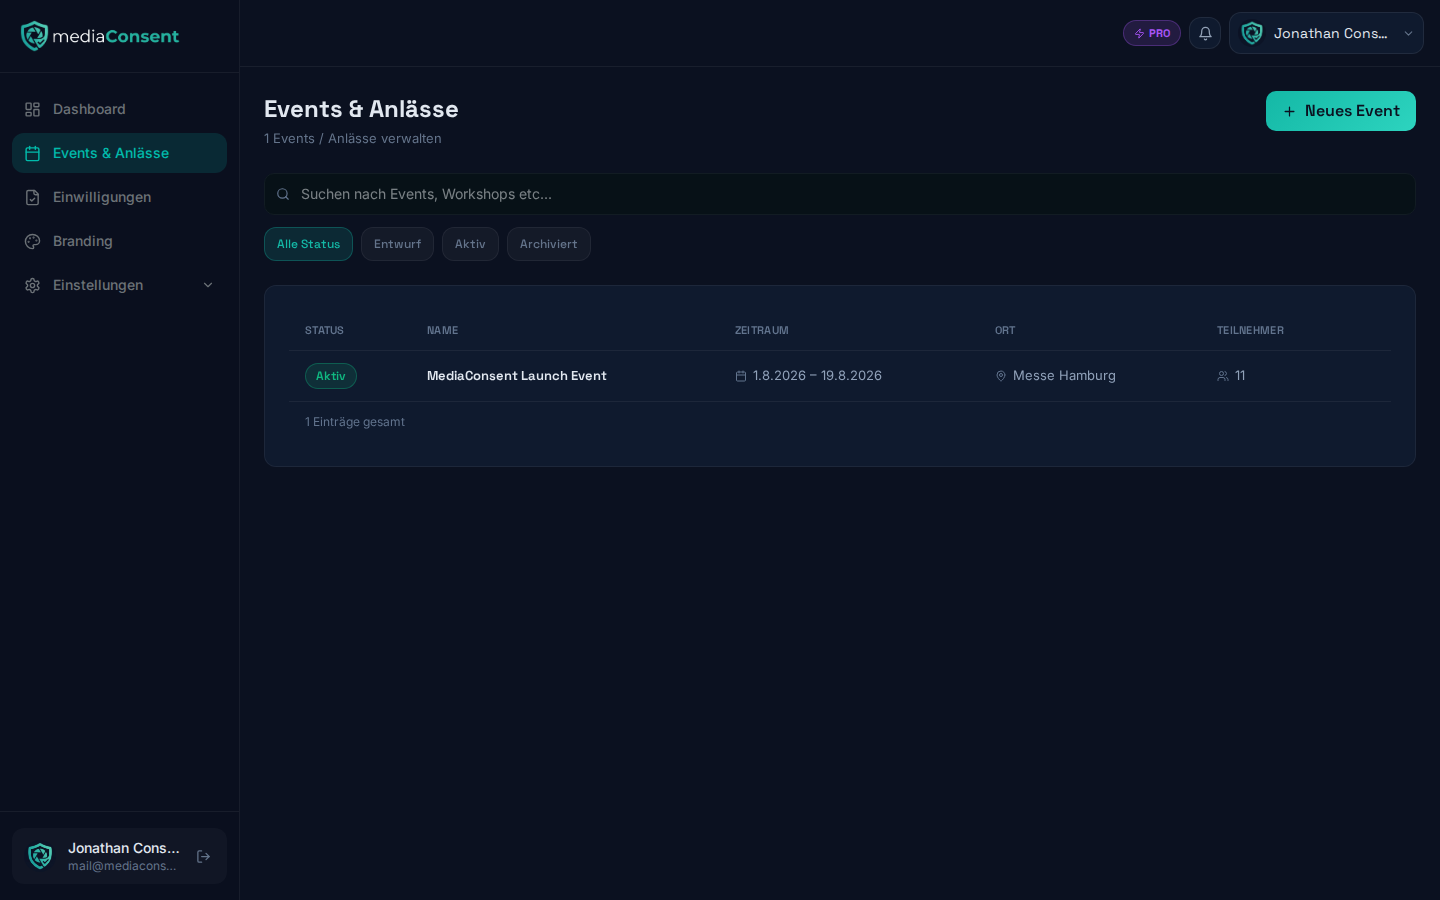
The events overview shows all your events at a glance, and this is where you start creating a new one via the "New Event" button.
1. Basic info
- Name of the event
- Start and end date
- Location
- Organizer (shown on the consent form)
- Consent deadline — after this date, the portal is no longer reachable for guests. Pre-filled by default with 7 days after the event's end date, but can be changed at any time — see Consent deadline below.
2. Texts
- Welcome title and welcome text, shown to guests when they enter the consent flow in the kiosk/tablet portal.
- Consent text — the legal text guests read before agreeing.
- Refusal text — shown to guests when they object (only relevant if your consent mode allows objections).
All four texts come pre-filled with sensible suggestions that you can freely adjust. If you leave a field empty, the mediaConsent default text is used automatically when saving.
3. Consent options
Define what you're collecting consent for. Three options are suggested by default:
- Photo and video recordings
- Use in marketing materials
- Publication on social media
Each option can be marked as required. You can add your own options or remove the suggested ones.
Consent mode
You also define what's asked for at the terminal:
- Both — guests can either consent or object
- Consent only — only an affirmative consent is recorded
- Objection only — only an objection is recorded (e.g. if you generally photograph everyone and only need to document opt-outs)
Prerequisite: complete legal info
You can only create or duplicate events once your organizer legal info under Privacy Settings is complete (address, contact email, etc.). If anything is missing, the "New Event" button is disabled and shows a corresponding hint.
After creating the event
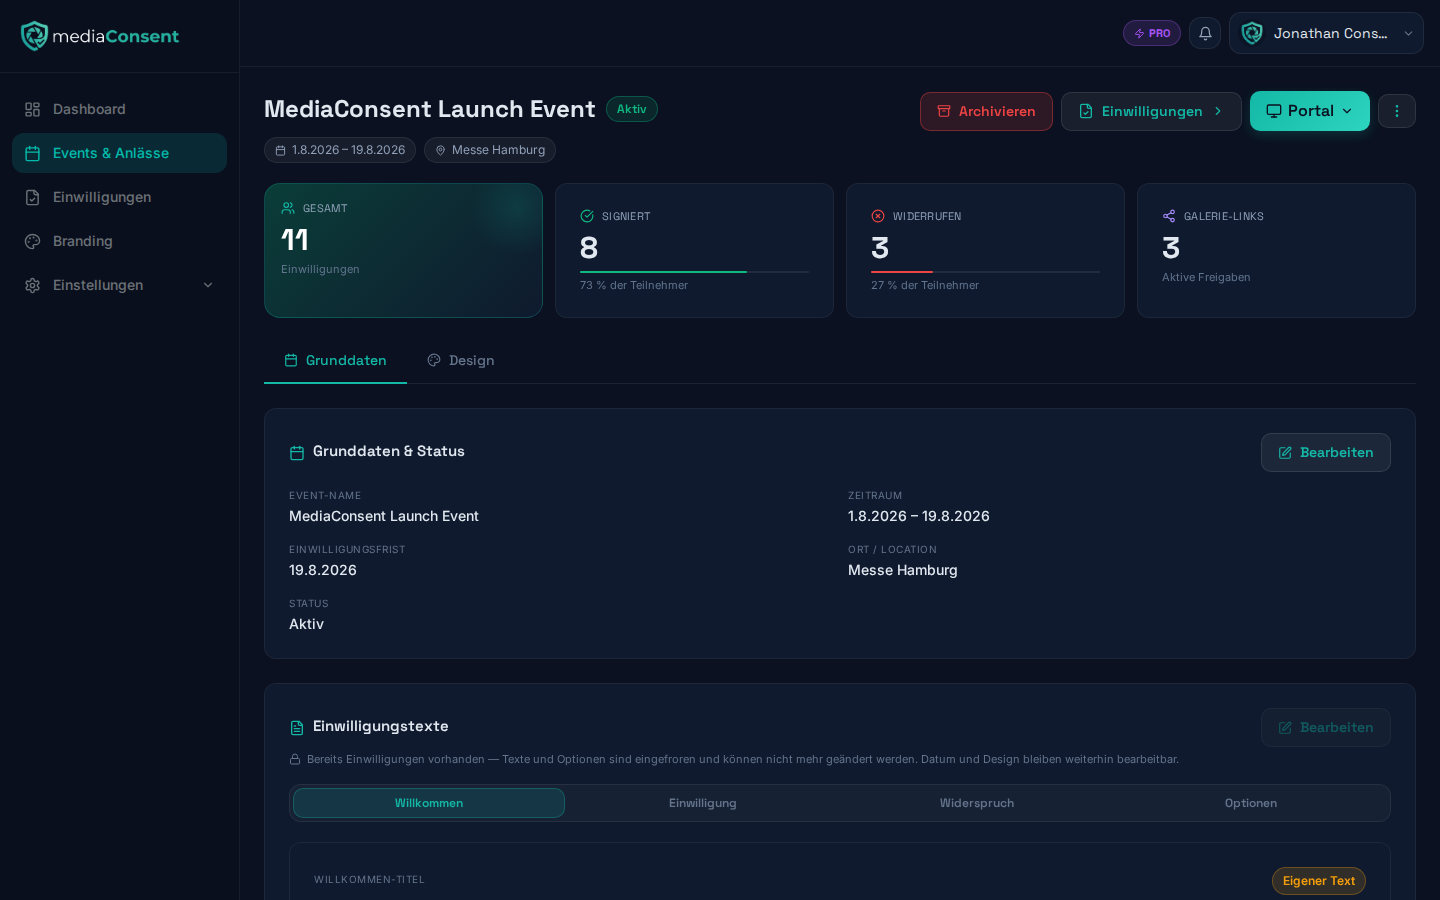
Once created, the event's detail page shows the QR code and link for the kiosk portal — see Kiosk Portal & Consent Flow. Basic info, texts, and consent mode can be edited there at any time — with one important exception, see below.
Consent options and texts get locked
As soon as an event receives its first consent or objection, its consent options and welcome/consent texts are automatically locked and can no longer be changed. This ensures that every guest of an event saw the same explanation for which they gave their consent.
Dates and design (branding) are unaffected and remain editable at any time. The location can be changed as long as the event isn't active yet — see Event status below.
Event status: Draft, Active, Archived
An event moves through three statuses, switchable on the event's detail page:
- Draft — right after creation. The real portal isn't reachable yet; use the portal preview to check texts and branding.
- Active — the QR code and link take guests to the consent portal, see Kiosk Portal & Consent Flow. From this point on, the location can no longer be changed.
- Archived — the event is concluded. Archiving is final: an archived event can't be reactivated. Use "Duplicate" instead to start a new event with the same settings.
An active event can additionally be marked as frozen if it exceeds your plan limit. The portal is then locked for guests, see After a cancellation or downgrade.
Consent deadline
The consent deadline defines until when guests can still submit consent via the QR code or link. Once it passes, the portal shows a corresponding notice regardless of the event's status, and no new consents can be recorded.
- When creating an event, it's pre-filled by default with 7 days after the event's end date, but can be set to any date.
- On the event's detail page, the deadline can be adjusted at any time — including extending it, e.g. if you spontaneously need more time.
- For you as the organizer, the portal remains viewable even after the deadline has passed via the portal preview.
Duplicate an event
The "Duplicate" button on the event's detail page creates a copy of an existing event — handy for recurring events where only the date changes.
Duplicating carries over:
- Basic info, texts, and consent options
- The consent mode
- A dedicated event branding, if your current plan supports event branding (Pro) — see Plan & Billing
Already submitted consents and objections are not carried over — the new event starts with an empty list.
Before confirming, the dialog lets you adjust the new event's name as well as its start, end, and consent deadline dates; the name is pre-filled with the suffix "(Copy)" by default. The duplicated event starts as a draft and, like any new event, must be activated before its portal becomes reachable for guests. It also counts toward your plan's event limit like any other event — see Plan & Billing.
Deleting an event
The kebab menu on the event's detail page also lets you delete an event entirely — including its consent options, texts, and design. This is only possible as long as the event hasn't received a single consent or objection yet (already-revoked ones count too). Once at least one entry exists, the confirmation dialog shows a notice instead that deletion isn't possible — consents and their signed PDFs are the legal record and must be preserved. Use archiving instead in that case.
Deleting an event is irreversible and can't be undone.